Before and After: This Stair Paint Job Will Make You Never Want to Climb a Plain Staircase Again

September is Transformation Month at Apartment Therapy! That means every day, we’re sharing a new before & after to show the power of transformations at home. Head over here to see them all!
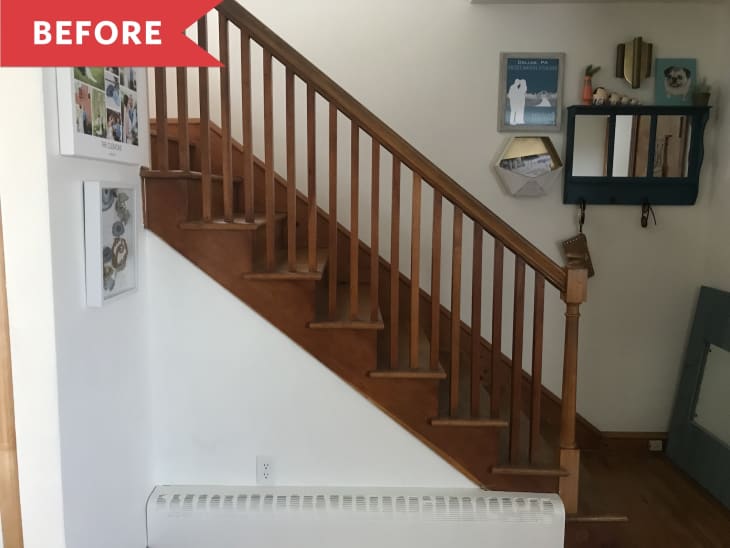
Staircases: Their main purpose is function, and they pretty much all look the same. Meghan Clemons had a standard wood one in her Pennsylvania house, but she wanted something a little different.
“We moved into our home in June, and while I loved the original wood floors and trim, the nook under the stairs was screaming at me to do something fun with it (I am a maximalist at heart),” she writes. Not to mention, the original wood needed a little love because it had previously been carpeted—Meghan could tell because of the staple marks and even the occasional staple sticking out.
First, Meghan considered installing patterned wallpaper on the nook wall, but after coming across Racheal Jackson’s Banyan Bridges Instagram account, she got inspired to go for a geometric, painted mural instead. “I picked out a few colors in sample pots and had the mural finished in an afternoon,” Meghan writes.
She loved the new look so much, she decided to carry over the dark teal color (Gypsy Teal from Valspar Paint) and some white to the rest of the stairs. Overall, she took just two days for the whole project, and mostly spent the time prepping and applying lots of paint coats to the stair spindles and risers. Because she nabbed several sample pots and already owned brushes, painter’s tape, wood filler, caulk, and a sanding block, the whole shebang only cost about $30.
“I love my stairs now because of the color, brightness, and cheeriness they add to the room!” Meghan writes. “I think that many people agonize over design and project decisions in their home and limit themselves to projects with resale in mind. Obviously, my project is not going to be everyone’s cup of tea, but the great thing is, it’s just paint!”
Thank you for sharing, Meghan!